Virtual Serial Connection to ESP-01s from Simplify3D over WiFi - Working!
On my Creator Pro I have always liked to use a USB connection in order to manage and send prints, rather than the more conventional walk-up and plug in a card. I have a dedicated laptop which runs Windows 10 and Simplify 3D. Despite the perfectly valid criticism of updates stalling, I really quite like S3D and I do hope that the development does finally start moving again.
For me, it's a very handy way of working. I can connect to the laptop from anywhere using Remote Desktop and run S3D as if I was local and slice and print - and manage the printer - all from one session. If I want to stop the job, I'm in direct control. A couple of webcams and I can see what's going on and set up and run things from anywhere.
When I built the A8 Plus I simply added a USB hub and S3D will allow multiple sessions so that I can run both printers at once with the same facility as I had for one.
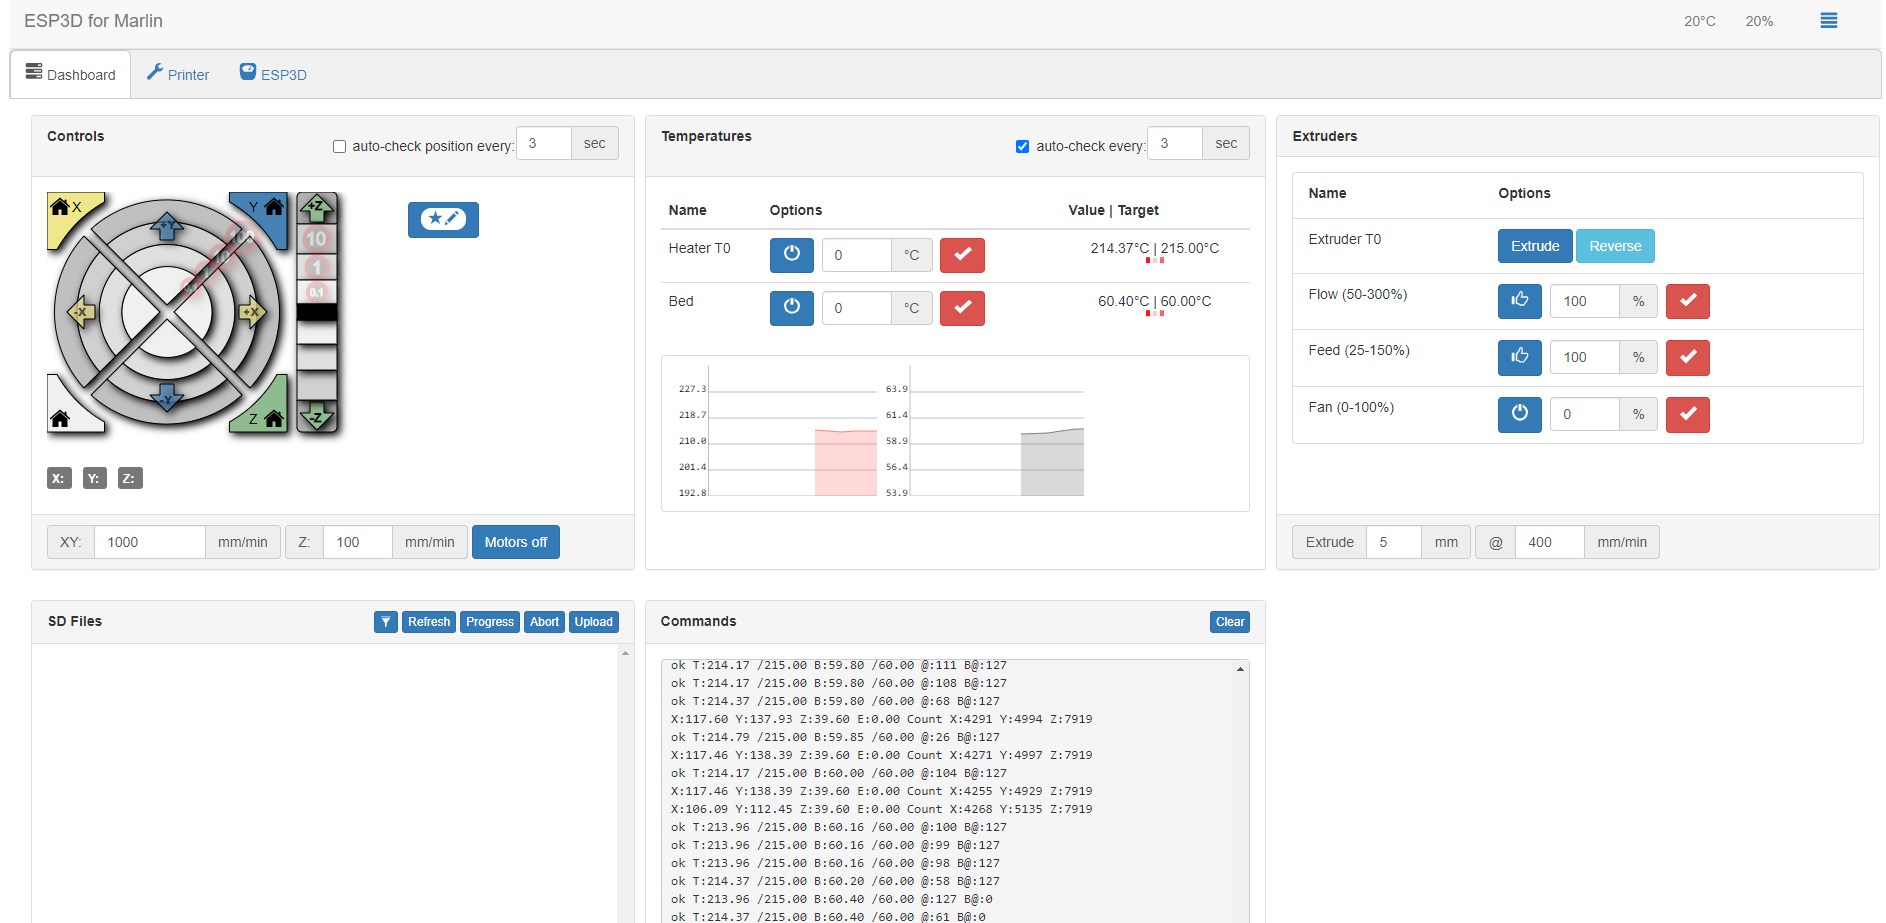
On the new build, I have installed the ESP-01S WiFi module to the TFT35 to provide WiFi access to the printer. At first, this gives access to control menus, allowing me to control printer functions via a web page and also send GCODE directly via the UI.
It occurred to me that there is an option in the ESP menus for a data port, which I took to be a serial port (not least as it shows a baud rate). It gives a port number for this port. It seemed logical that this would be some sort of Telnet connection.

In order to connect from S3D, the software requires a serial (COM) port. I knew that there were a number of virtual COM drivers available but they're often either expensive, or unrealiable - or both, in my experience.
If I could make it work then I could eschew the USB cable and site the printer anywhere and connect S3D to it virtually. So, I set about seeing what I could find. After some initially fruitless googling, I came across a utility called Tibbo Device Server Toolkit software here.
It seemed very straightforward: define a COM port and point it at an IP address and port number. So, I fillled in the boxes for IP and port (the ESP-01s uses 8888 by default so I left it at this).

There was another tab where I changed the baud rate from the default of 9600 (those were the days) to the 115200 configured on the TFT35/ESP.
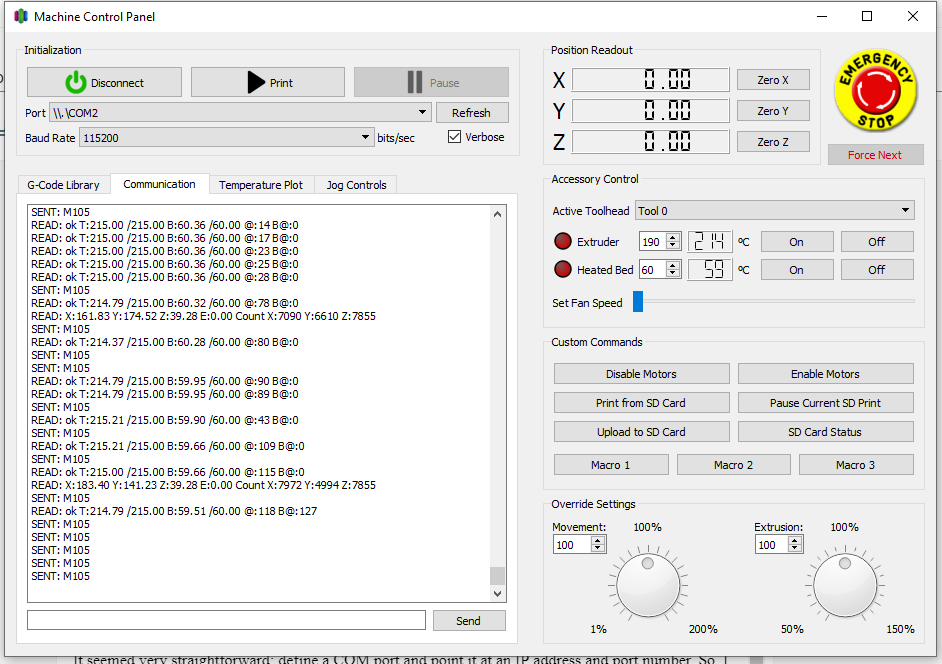
I next went into S3D and then into the machine control panel. Here I selected the new virtual COM port (COM2) I had created and clicked Connect as normal. Lo and behold, it connected immediately and I was able to see activity from the print which was currently running on the printer.
I was very pleasantly surprised at how simple this turned out to be! I hope that this is of help to someone else is setting up a slicer connection to a WiFi device.


Hello, i've seen your comment on reddit where you said that you made a virtual COM port. I was hoping that I can find whatever I need here. Thank you.
ReplyDeleteYes, this worked for me. I hope that it helps you out too. It's not a perfect solution, but it does seem to work pretty well - and it's free!
Delete