Design Updates
This weekend I'm hoping to forge ahead with my solution for the X and Z axis cable chains. I am now printing prototype mounts and then I will start testing. I think that I will set up the X axis on its own first, using existing cabling and then, if that's succesful, add in the Z too which will need rewiring.
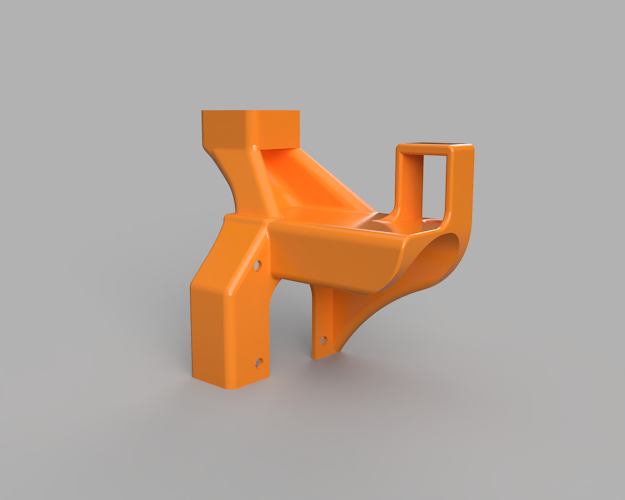
This is my concept design for the bracket which will link the X and Z axis chains. I have now printed a first prototype as
It's printed quite well. so I now need to tweak the measurements to make it fit perfectly. I also have completed the concept design for the X carriage mount for the other end of the X chain.
I've designed this in two parts to make it easier to fit and to limit the possibility of it making access to the extruder difficult. It means that it can just be unscrewed if it's needed to be removed. I'm also toying with extending it and adding a filament guide, as it is effectively sitting above the extruder motor.
This part is printing now.
In the background, I've also been tweaking the design for my under-printer trays. I realise that it's not an important element of getting the printer to work, but it's become something of a challenge now to make it work and to address design and printing constraints. Perhaps I'm getting a little carried away.
The new concept looks like this
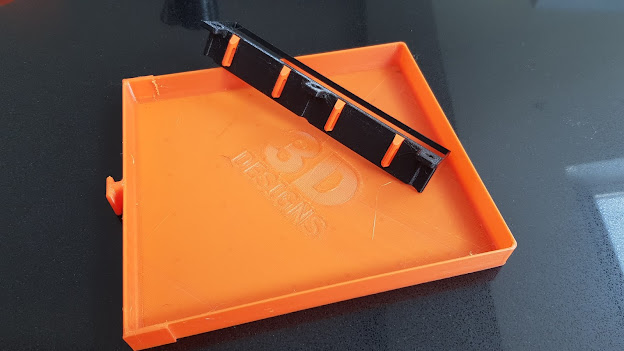
I was determined to include clamps for routing the TFT ribbons cables, but printing in one part simply wasn't strong enough, so I decided to make them separate and they just slot in to the fascia.
This is a close-up of how the ribbon cable clamps fit to the fascia. It's a good friction fit and they just slide into place on the top of the fascia to make it very tidy to route the ribbons. The mounts are designed to print on their side to provide a strong design and obviate supports.


Comments
Post a Comment